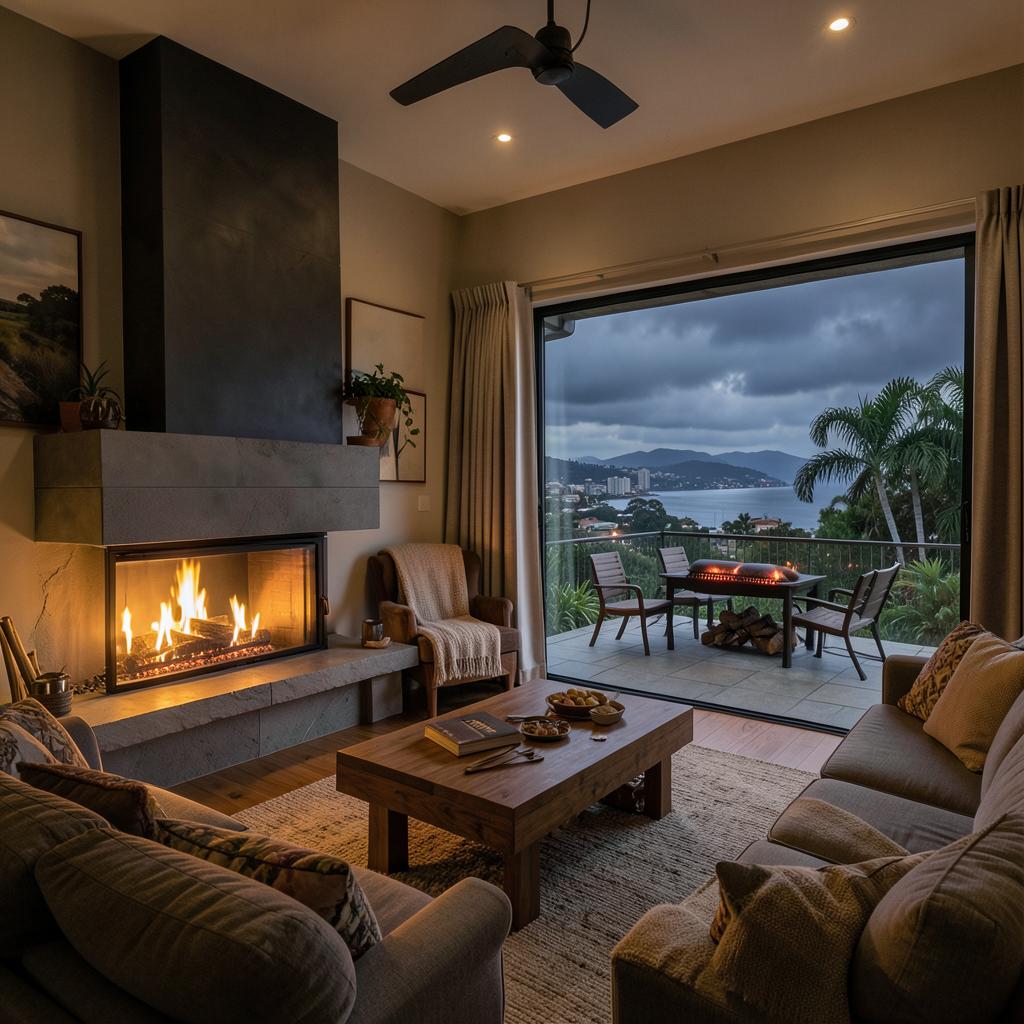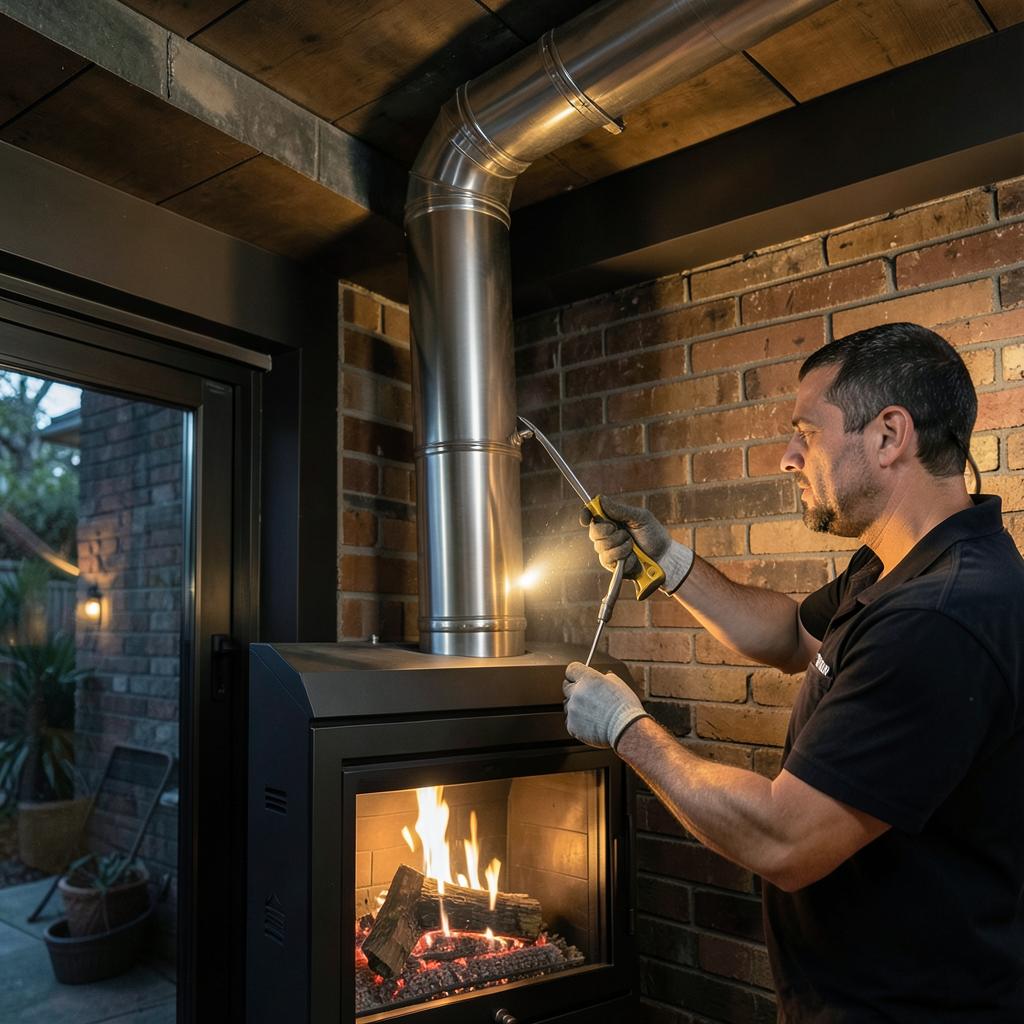
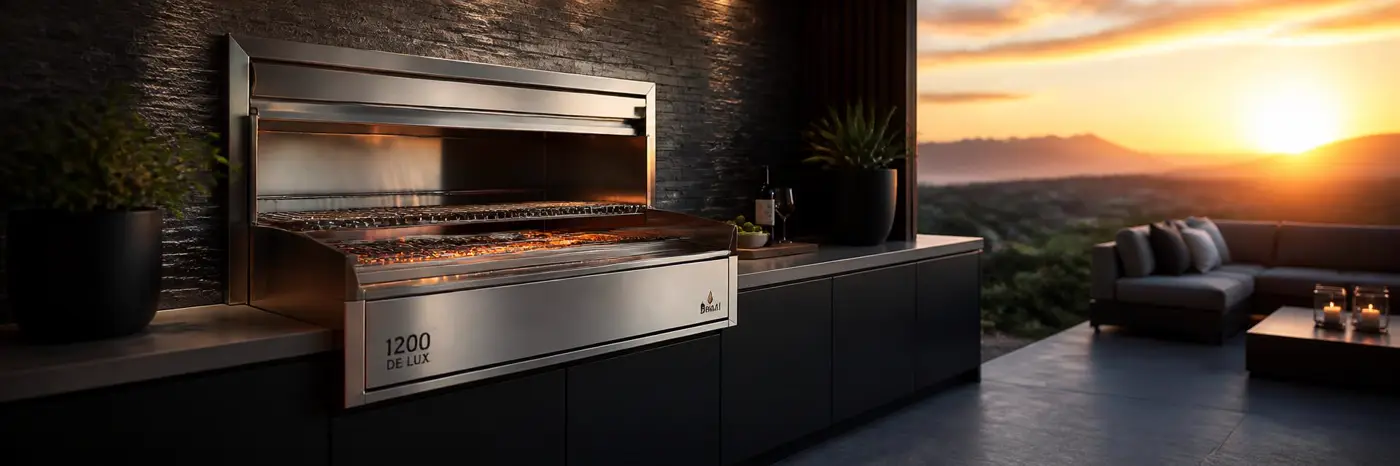
AI-generated design inspiration—not a completed Progress Group installation or an exact product photograph.
A good built-in braai layout starts with the appliance and flue route, not the cabinetry. Whether you are planning a Bellville braai room, a Durbanville covered patio or a coastal entertainment area, choose a model first and have its installation requirements checked before your builder fixes the opening. Here are practical layouts and actual LavaFires products in the Progress Group catalogue.
Layout 1: a compact braai wall with a preparation counter
Put the braai on one wall and keep a clear preparation surface beside it. This suits a smaller entertainment space where a large island would interrupt the route between the kitchen, table and garden. Keep seating out of the working area so guests are not passing directly in front of the hot appliance.
Start your shortlist with the 1000 De Lux double-door built-in braai in mild steel, including a 2.4 m flue kit, listed at R8 348 incl. VAT. The 1000 designation is the model size, not an instruction to build a 1000 mm recess: obtain the exact manufacturer's opening dimensions, insulation requirements and clearances before construction. Confirm every included component on the quotation.
Layout 2: an enclosed braai room opening onto the garden
An enclosed room can connect a dining area to the garden while keeping the braai usable when the weather changes. Plan the table, door swing and serving route together. Windows and sliding doors do not replace a properly designed flue or ventilation assessment; an enclosed room needs professional checks for smoke removal and safe operation.
The 1200 De Lux double-door built-in braai, including its 2.4 m flue kit, is listed at R8 689 incl. VAT. Compare its actual dimensions with the smaller model before deciding how much counter and circulation space remains. Do not position combustible cabinets, beams or decorative finishes beside the firebox without the required clearances and protection.
Layout 3: a covered patio with a clear flue route
A covered patio should be planned around the roof as well as the view. Before placing a braai beneath an existing roof, identify beams, ceiling materials and the route to a suitable flue termination. Keep the preparation area convenient, but ask the installer to confirm the location before committing to a corner or moving the appliance to avoid a beam.
For coastal homes in Table View, Melkbosstrand or Langebaan, a roof alone does not remove salt-air exposure. LavaFires cautions against outdoor coastal installation of mild steel and 430 stainless steel unless the patio is completely enclosed. Its manual also warns that even high-grade stainless steel needs maintenance in coastal conditions. Confirm material suitability with the supplier for your actual exposure.
Compare the stainless-steel options without mixing package contents
The 1000 De Lux in grade 430 stainless steel is listed at R14 992 incl. VAT, excluding the flue kit. The 1000 De Lux in grade 304 stainless steel is listed at R30 273 incl. VAT, including a 2.4 m flue kit. These are different material and package specifications—not two prices for the same bundle.
Ask for the unit, supplied flue components, any extra lengths, installation labour and delivery to be itemised. Product prices here were checked against the catalogue on 17 October 2026; availability and the final site-specific quotation still need confirmation. Built-in braai installation labour is price on application, not included in these product prices.
Installation checks before the builder starts
The LavaFires built-in braai installation guide specifies the checks below. They apply to the manufacturer's guide, not every braai on the market. Have a professional confirm the current instructions for your exact unit, the building structure and the complete flue route; do not treat this article as a substitute for an installation plan.
- Support: the guide specifies a 100 mm concrete slab or lintel, with its top 900 mm above the finished floor.
- Space around the firebox: the guide specifies a 50 mm rear gap and 25 mm side gaps, with heat-resistant insulation as instructed. Confirm the full recess dimensions separately.
- Flue: the guide specifies a minimum 2.4 m flue. A supplied 2.4 m kit does not guarantee it is long enough for your roof or termination requirements.
- Electrical connection: the braai light must be connected by a qualified electrician.
- Before closing the surround: confirm insulation, roof weatherproofing, combustible clearances, access and ventilation with the installer.
Request a quote for your Cape Town braai layout
Send your preferred model, suburb and address, room or patio dimensions, storey count, roof type and photos of the intended position. Include a sketch showing the counter, doors, seating and any beams above the braai. For a coastal property, say whether the space is enclosed or exposed.
Progress Group has been serving the Western Cape since 1990, with a showroom in Bellville. Request a site-specific quote for the product, flue and installation rather than assuming the catalogue price covers building work. Installation is available within 200 km of Cape Town; nationwide courier supply can be quoted outside the installation area.
Written by
Progress Group
Fireplace, braai and gas specialists since 1990 — showroom in Bellville, installations across Cape Town and the Western Cape.